
The best way to enjoy your beer is when it’s served cold, fresh, and on draft. If this is the experience you’re looking for, you’ll get it by taking kegged beer.
While this is the case, most people don’t know how to get the best out of their kegerator. But, this is something you can reverse by learning how kegerators work, and what their essential components are.
We explore all the crucial aspects to ensure you have a kegerator that offers optimal performance.
The Key Components of a Kegerator
If you plan to invest in a kegerator, it’s necessary to learn about its different features and components. Here’s a brief overview of the various parts you should know about.
- Cabinet: The cabinet is a big refrigerated container holding the keg. The cabinet should have an average temperature of 32 to 75 degrees, and its size varies based on the faucets you plan to have and your type of cabinet.
- The Draft Tower: Also known as the tap tower, it’s a tap located on the top of your cabinet and where you load your beverage. The tap comes in different finishes, styles, shapes, and with different faucets.
- Faucet: This is a spigot-like tap where the beer flows to your tap. Faucets come in different shapes and styles and are made from stainless steel or chrome-plated glass.
- Faucet Handle: This is the handle you need to push to release beer from the tap. There are plenty of handle shapes and styles, and there are customizable options you can choose from.
- Drip Tray: The drip tray is located below the faucet, and it collects the excess liquid from accidental spills or overflow during pouring. The tray is designed from plastic or metal and comes in different styles.
- Keg Coupler: This is the part that connects your beer and gas lines. The coupler comes in different styles, with the most popular being the American S System and D System.
- Carbon Dioxide Tank: This tank features a gas that pushes your beverage from the keg, giving it a fresh carbonated taste.
- Carbon Dioxide Regulator: This regulator is designed to help you adjust your carbon dioxide pressure, ensuring that you dispense your beverage for that perfect pour.
How Kegerators Work
A kegerator will work when you apply carbon dioxide pressure on your keg, pushing the beer upwards and outwards. The cylinder allows for even and consistent pressure to be applied to your keg while being tapped. This is made possible using a regulator connected to your cylinder, allowing you to adjust your pressure.
The coupler, a valve that taps your keg has output and input tubing that allows the beer to flow from it. One side of the tube connects to the regulator and the other to the end of the faucet, where beer comes out.
How to Maintain Your Kegerator
Proper maintenance of your kegerator is crucial in ensuring that your beer tastes and looks fresh. This is why it’s recommended that you thoroughly clean the kegerator every two to three weeks.
A proper cleaning procedure also helps prevent the growth of yeast, mold, and bacteria on your kegerator components like keg couplers, draft faucets, or beer lines. That said, here are a few crucial steps you should follow.
Turn Off Your CO2 Tank and Regulator
Before cleaning your co2 regulator, plug it off from electricity, then turn off your carbon dioxide tank. Ensure that you also disengage the keg tap and remove the keg.
Clean the Inside and Outside of your Kegerator
When cleaning your kegerator, begin with the interior, including keg tap, regulator, and CO2 tank, then move to the outside. By thoroughly washing these areas, you won’t experience the growth of microbes like rouge yeast or vinegar bacteria.
Always ensure that you use warm water and unscented soap when cleaning. The problem with using scented soap is that it can overpower the scent of dirty spots.
Flush Your Beer Lines With A Cleaner
Once you’re done cleaning the exterior surfaces you can reach, start cleaning the interior surface you cannot reach. One of the parts to focus on is the kegerator beer lines. The first step is to mix the beer line cleaner according to the manufacturer’s specifications.
You should then use the cleaning bottle pump mechanism to push your solution in the beer line. Let it settle for up to half and empty into a bucket and rinse your tube with warm water three times.
Disassemble and Clean Faucets and Couplers
Before cleaning your faucets and couplers, use a wrench to loosen the faucets and twist them off with your hands. Fill a bowl with hot water and add a tablespoon of cleaning solution. Put the faucet parts you have unscrewed in the bowl, then let them soak for half an hour.
If the keg coupler or the faucet parts have debris on them, scrub them away using a brush. Leaving any microbes on such parts may contaminate your brew, ruining its taste. Before assembling your parts, make sure that all parts are okay, especially those that wear fast, like the O-rings and rubber gasket.
If you notice that they have become flattened or show signs of wear, replace them immediately. Don’t forget to confirm whether the washers are in great shape or if your O-rings have enough food-grade lubricant.
Reassemble Your Kegerator
Make sure that you put your faucets in the reverse order you took them apart, then attach your keg coupler to the CO2 hose and beer line. Turn the valve on and re-tap your keg. Note that you should wait for your keg to settle to the right temperature before you draw beer from it.
Common Kegerator Problems and How You Can Resolve Them
If you’re new to kegging your brew, you’re likely to encounter different problems. While this can be frustrating, the solutions are simple if you know what to look out for.
Your Kegerator Produces Foamy Beer
If your kegerator produces foamy draft beer, there are different reasons why this could be happening. First, you probably have put a new keg, and you haven’t let it settle. In addition, it’s advisable to always check on the thermostat because foamy beer can also occur if you have a warm beer.
High carbon dioxide pressure and dirty lines can also cause foamy beer. So, ensure that your lines are regularly cleaned, and your CO2 pressure should be between 12-14 psi.
You Have Temperature Issues
If you’re using an indoor kegerator, a common problem you’re likely to face is that it may sometimes not cool your beer as you’d expect. Understand that your kegerator works like your mini-fridge and requires the proper airflow to cool your interior.
Given that the keg covers most space in your kegerator, there isn’t enough room to ensure proper air circulation, making your beer not cold enough. You can solve this concern by placing a small fan inside the kegerator to ensure better circulation of cool air.
You Have Issues With Defrosting
If you notice that your kegerator walls have begun to ice up, the quality of your beer is likely to be affected because it impacts your appliance’s cooling capacity. That said, you should defrost your kegerator regularly and check for any signs of icing, even if your appliance has a defrost feature.
How to Build Your Own Kegerator
When building your kegerator, you need to buy a mini fridge appropriate for kegerator conversion and a kegerator conversion kit.
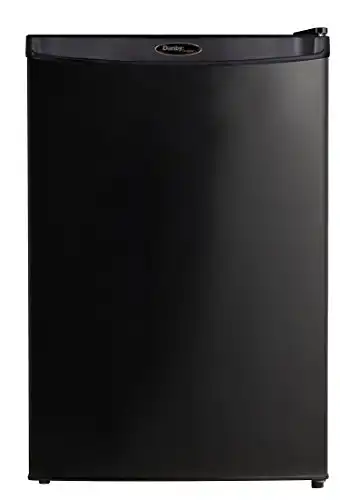
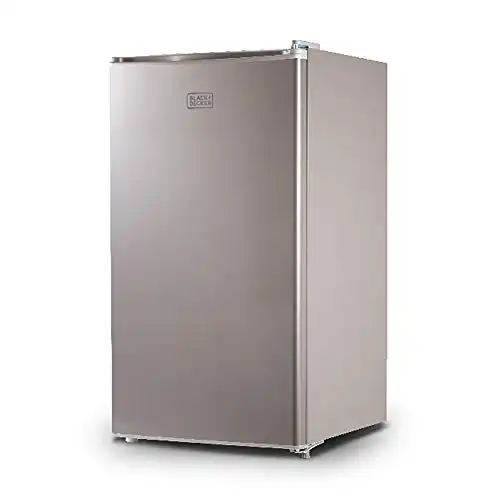
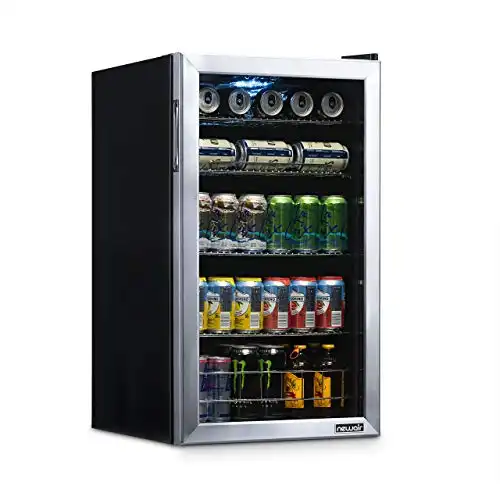
Top 3 Mini Fridges for Kegerator Conversion
Next, follow these essential steps to get that cold, drafty beer you’ve been yearning for:
- Begin by marking holes on top of your fridge using a gasket that comes with the tower. Using a hole saw, cut the spots where you’ll pass your beer lines and bolt the tower
- Use the holes at the top of your fridge to run the beer line. Don’t forget to connect the end of the line to the beer and gas connector and use clamps to seal the connections.
- Next, convert your fridge to a kegerator. Here, you’ll need to drill a 1.25-inch hole at the side of your fridge for the gas line to pass.
- Place the rubber gasket that came with your tower over the holes you drilled, and remember to place a liner if it came with one. You should then put the tower in place and secure it with bolts.
- You should then install the faucets via the holes around your beer tower. Understand that faucets have concealment rings and washers, and you should use the right ones on the inside and outside. Don’t forget to secure the faucets to the tower by using faucet connectors.
- If your tower has a holder to display the type of beer available, attach them. It’s also essential to have a drip tray to catch the drip from your faucet.
- Finally, connect the gas liners and liquid liners to the top of your keg and place them inside the fridge. Close your door, and that’s it!
Final Thoughts
If you love beer, you know that it’s refreshing to crack open a bottle or can of cold beer, but nothing can beat a fresh pint of beer on draft. If you’ve been wondering how kegerators work and plan to own one, this guide has explored the critical details you need to know.